Portfolio of commissioned work
Below are some examples of projects that I have designed and built from scratch. Feel free to flick through the pictures. If you have a need for a bespoke piece of furniture then do let me know by dropping me an email at hello@dworkx.co.uk
Floating Shelves
Own Design
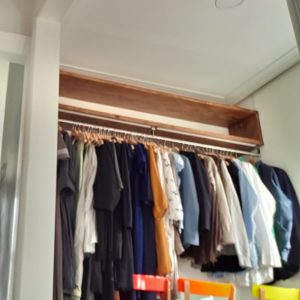
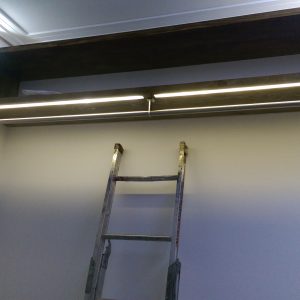
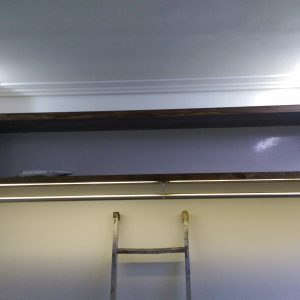
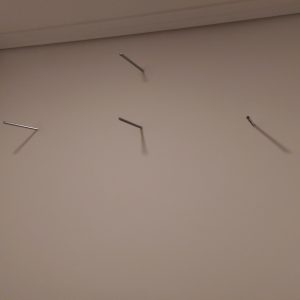
After the amount of time and energy spent on converting two tiny spaces into this one functional space which is to be a walk-in wardrobe, I would have been more than happy at this stage of the project to stick a few Ikea units in there and call it a day (perhaps adding some bespoke doors for a touch of interest). However, due to the strange shape of the room, getting an ‘off the shelf’ solution so to speak, would’ve been pretty difficult. So I decided to build some floating units for the hanging sections which would span the full width on both sides.
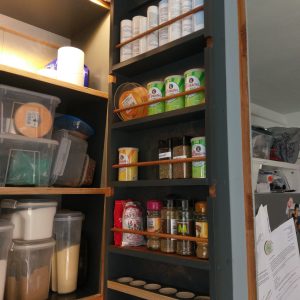
Built-in kitchen pantry
Own design
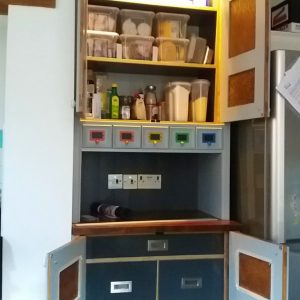
This was the largest and most complicated built to date. It’s been constructed of both recycled wooden doors from an old cupboard, new pine and plywood.
This one was a true labour of love and took some time to create. But it gave me plenty of skills for the other built-in units I have made to date.
Bath Caddy
Own design
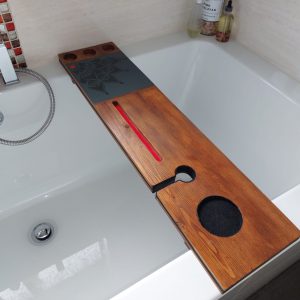
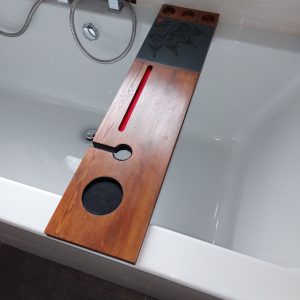
This one came from a kind of half challenge from someone in my family Whatsapp group who posted a bath caddy (didn’t even know that’s what it was called at the time).
Similar to the first picture. She asked where it’s even possible to get something like this from (don’t think Etsy was quite as big at the time ;-). I replied “you make one”, and from there the gauntlet was thrown down.
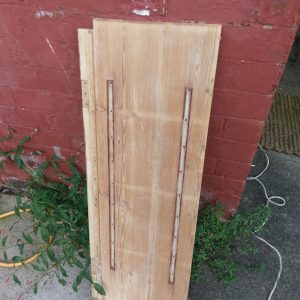
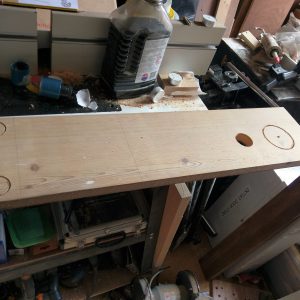
I had some nice old pine from an old broken down sideboard which I repurposed for a few projects and set to work creating my own take on an old classic bath caddy.
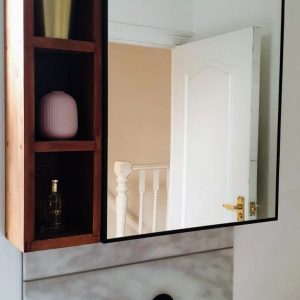
Bathroom cabinet
Own design
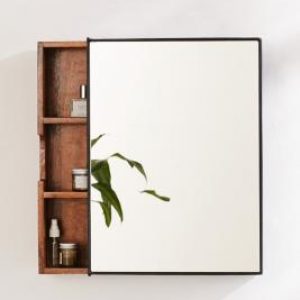
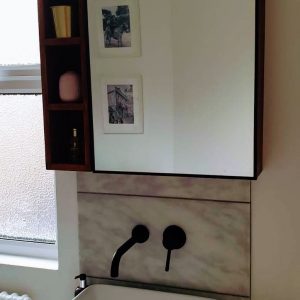
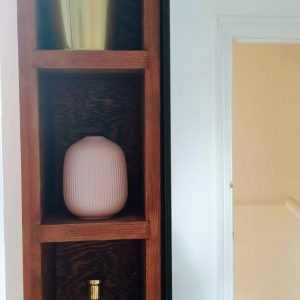
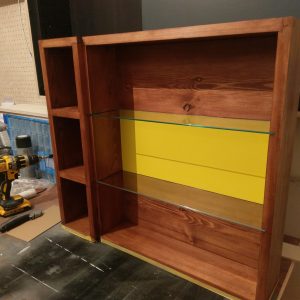
This was a fun little project. My cousin had asked if I could make something similar to the cabinet in the first picture. As with so many projects this one ended up being a bit more of a challenge than the simple brief made it seem.
I repurposed timber from an old pine cabinet (which has donated so much material to other projects as well).
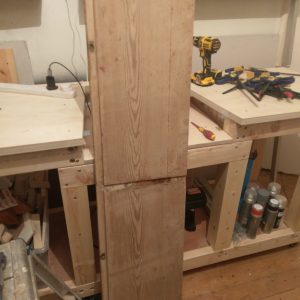
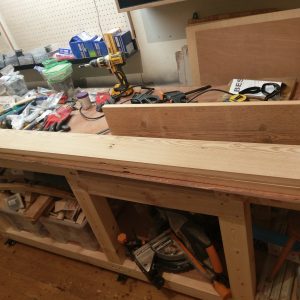
Old pine is great to work with and is some of the best wood to finish that I have worked with. Here are a few pictures of the finished product and some progress shots.
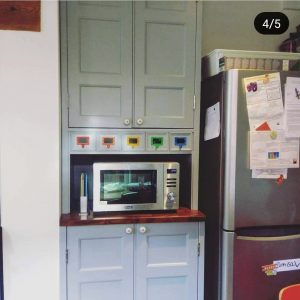
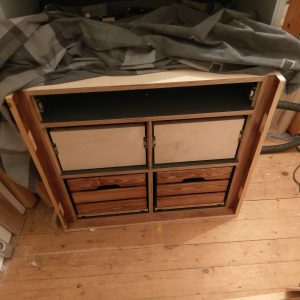
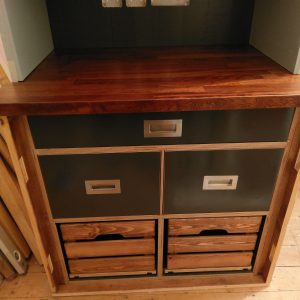
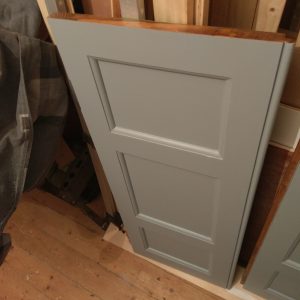
Built-in alcove cupboards
Own design
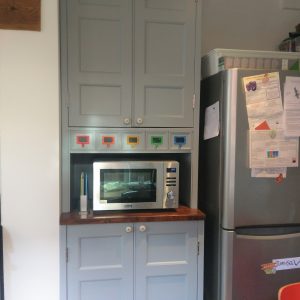
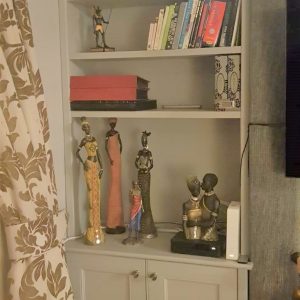
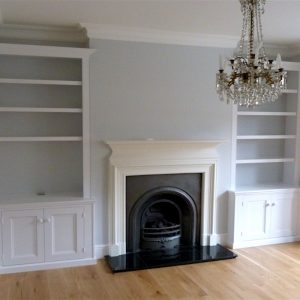
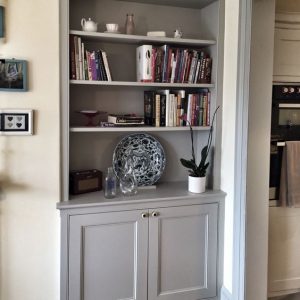
Another commission build. The customer was after some built-in alcove units. I asked them to send something similar to what they were after (Pic 4) and measured up.
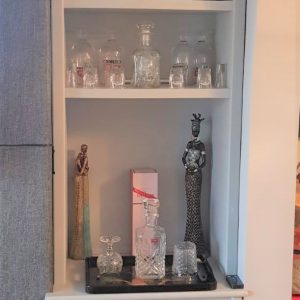
I went on my own search for an example which I thought would suit the space while still in keeping with the brief and settled on the style from the fifth image.
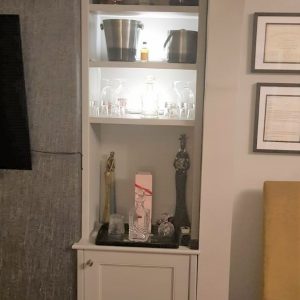
The trickiest part for me was the fact that I was building these units remotely to fit into spaces that were nowhere near square. So my main concern and consideration was the fitting. Therefore I made sure to leave a few extra mm on either side to allow a margin for error.
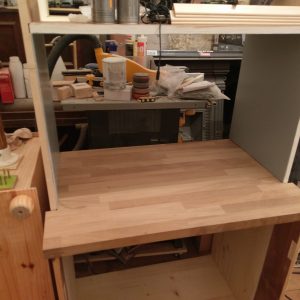
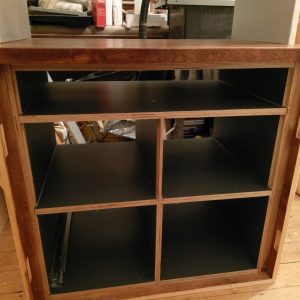
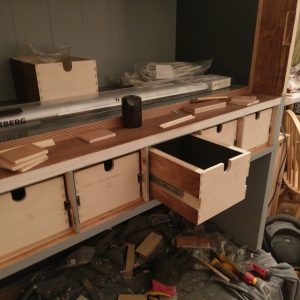
Building the units themselves wasn’t too technically demanding aside from dealing with pieces that size in my tiny (and overly full) workshop. To help with this I made both units in 2 parts, top and bottom otherwise building and transporting them would have been too difficult. It also helped get around the fact that, one of the alcoves in particular, was quite a few cms narrower at the top than it was at the bottom.
The units are constructed almost entirely from plywood and the thicker shelves were achieved by glueing 2 15mm boards together. I also had to make sure to allow enough space between the worktops and the bottom shelves for 60cm statues.
Modern Clothes Airer
Own design
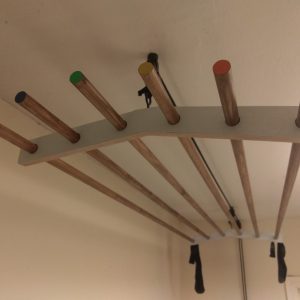
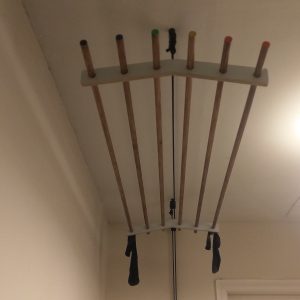
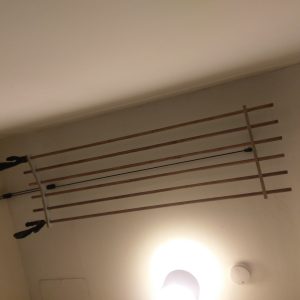
My take on an age-old classic. Had looked around for new ones, but simply didn’t have enough in the budget at the time for the size we would’ve liked, and even came across some second-hand ones which were still expensive considering how much work would be required to get them back into acceptable condition.
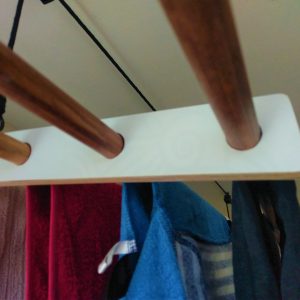
I used some spare plywood to make the hangers and bought some dowels (original airers tend to have rounded slats).
I went with dowels for a few reasons, they are much easier to get hold of, far cheaper and available in longer lengths and it was also far easier to drill round holes for the hangers rather than the traditional shape of the slats.
Overall this has to be one of my favourite projects. The design is extremely simple, very practical and although not made from cast iron, still very durable and best of all we use it constantly.
Resin Filled Bespoke Desktop
Own design
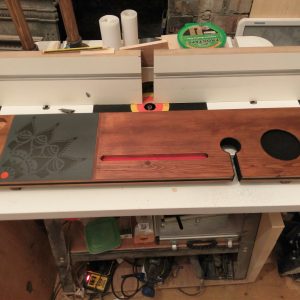
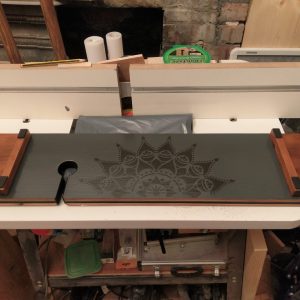
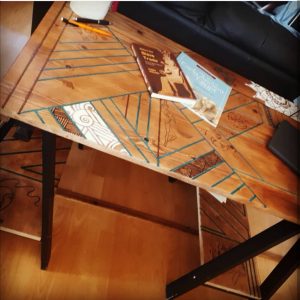
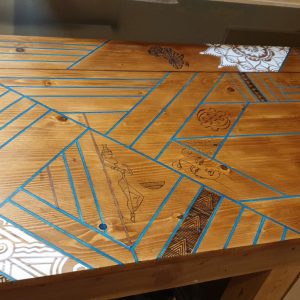
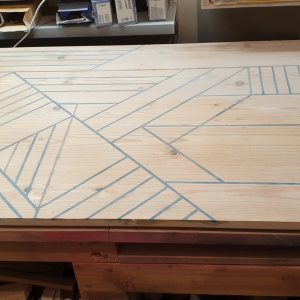
The request for this one was simply to produce a wooden desktop to sit on a pair of trestles and 2 smaller boards as shelves to go underneath.
I decided to make it a little more interesting taking inspiration from a geometric design I intended to make for a sliding door for a wardrobe (and hopefully still will one day).
I had some old boards which I had found abandoned on the street (old bed slats I believe). I glued these together and trimmed to size. I then cut the pattern into the board with a router, filled it with coloured epoxy followed by a lot of scraping and sanding. I finished by dying and oiling the top and added a few themed laser engraved patterns for effect.
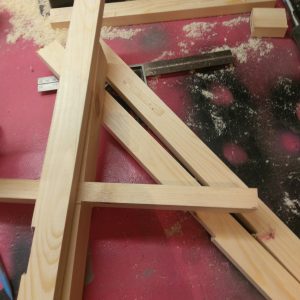
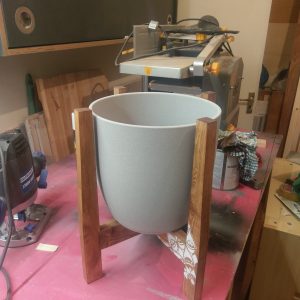
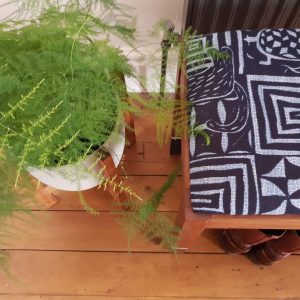
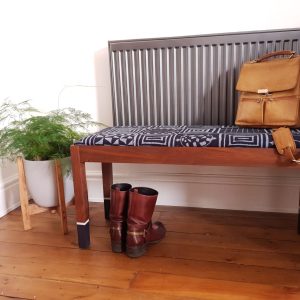
Mid-century Plant Stand
Own design
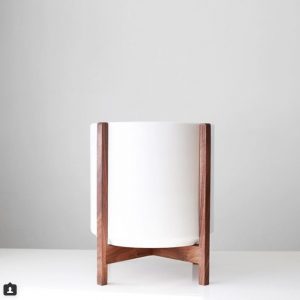
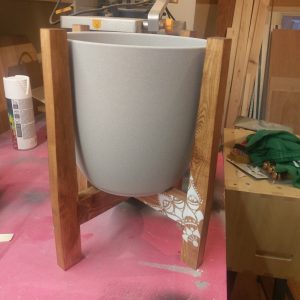
My attempt to recreate the classic mid-century style planters. Someone had asked how difficult it was to make the one in the first picture. Couldn’t resist adding my favourite stencil (really have gotten a lot of mileage out of that)…
Handlebar Bike Hanger
Refurbished/ New Design
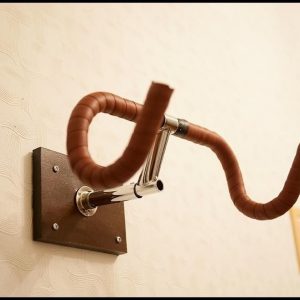
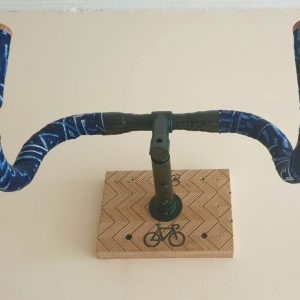
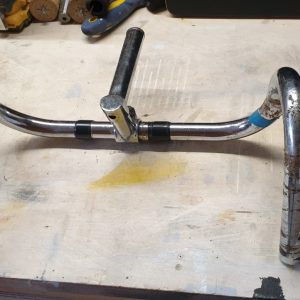
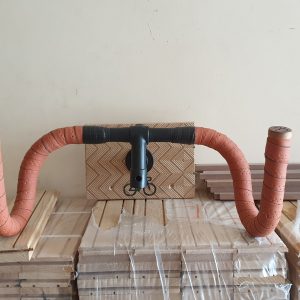
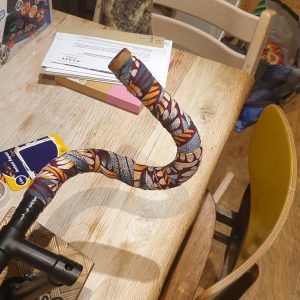
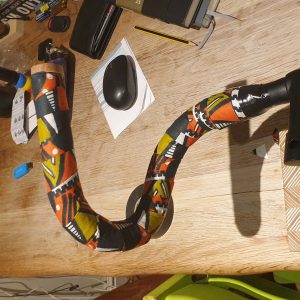
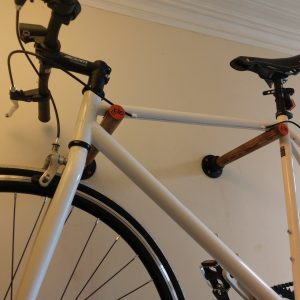
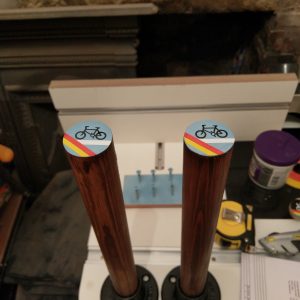
Asked by a friend if I would be able to make something similar to the first picture. I sourced some old handlebars, tidied them up a bit and rewrapped them with new bike tape and decided to take it a step further and experiment by wrapping them again with African fabrics for some cool effects.
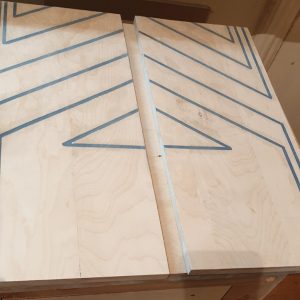
I also took the opportunity to try out some plywood patterning for the first time for the mounting board. Really enjoyed seeing the finished result of that!
Bespoke Shutters
Own Design
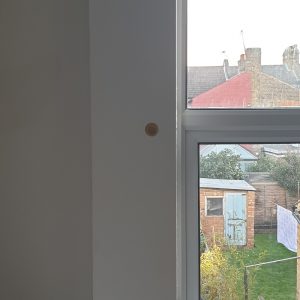
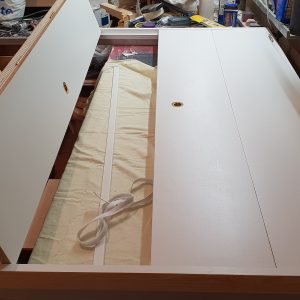
Another request. This time for some custom made shutter blinds.
They look pretty good, but would definitely make changes to the design in the future as these were made from 18mm thick ply, which made them quite heavy and difficult to manage. Also, some small adjustments to the design would make them easier to fit without the need to be quite as precise as these needed to be.
Happy with the results for a first attempt though.
Bike Pegs
Own design
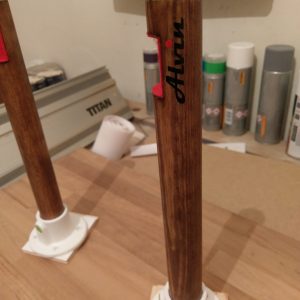
I fancied some stylish bike pegs and found some similar to these online, but they were a bit pricy. So I figured, as I often do, that I could have a go at making some myself.
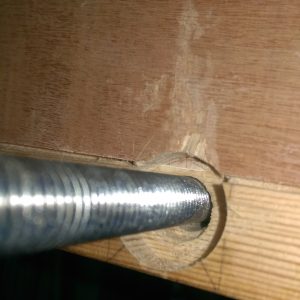
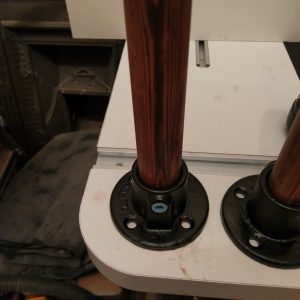
This is my version made from 34mm doweling. I had originally attempted to make them using metal rods with a large screw thread on the other end, which goes into a large wall plug. I had all manner of problems with that design, not least of all getting a straight hole smack dab in the centre of the dowel. Also because I had added notches to the end of the dowels to prevent the bike from sliding off. Making sure they were screwed in and lined up so that the notches were precisely at the top, was extremely difficult. In the end, I decided on using some scaffolding fixtures to fix them to the wall. Not as slick or clean as I had originally hoped, but they were much easier and stonger by far and also added a charm of their own especially as they can be sprayed to add to the decorative theme.
They were very popular with everyone who came to the house and saw them and I ended up making quite a few more sets for those who kept asking.
Radiator Covers
Own design
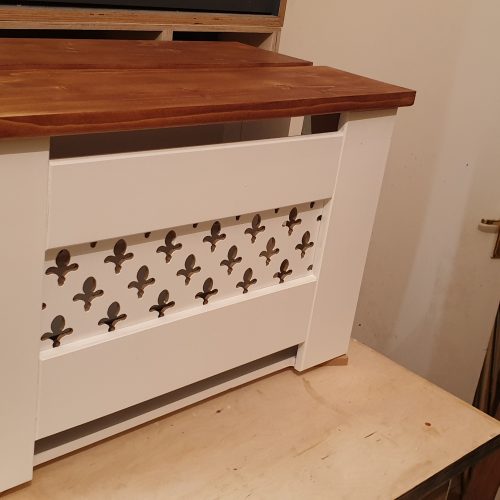
Request for some small radiator covers using MDF, not something I would normally use, but since it was for my brother, I relented. I have to say though despite my reservations, it is an extremely easy medium to work with, although I’ll try not to make a habit of it.
Also added some wooden tops from some scraps to provide a bit of durability.
My Own Work Shop
Own design
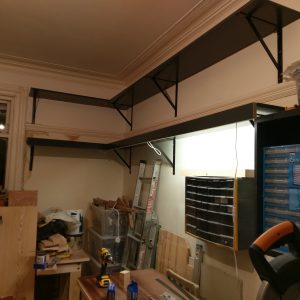
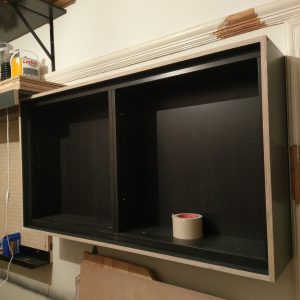
In a vain attempt to keep my workshop somewhat organised, I decided to create some purpose-built storage. I used lengths of plywood and some heavy-duty brackets to create some long shelves on which to store ripped down sheets of plywood and other long thin timber, as well, as paint tins, etc.
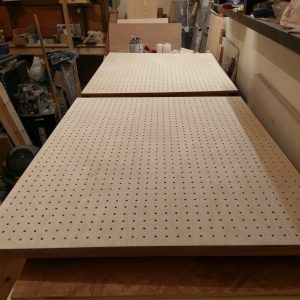
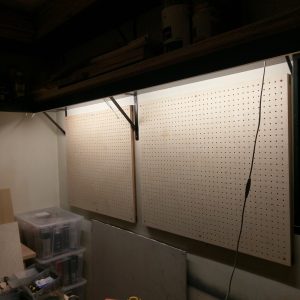
For the pegboard I treated myself to some birch ply and spent a gruelling weekend of marking out and drilling holes, not the most pleasant job, but was pretty happy with the end result.
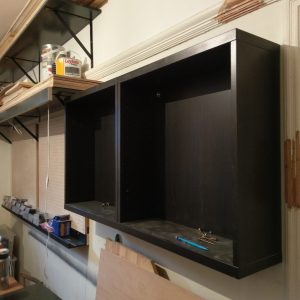
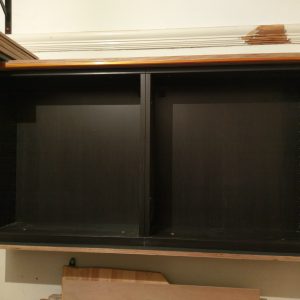
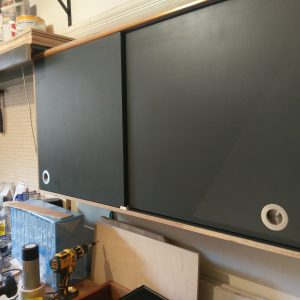
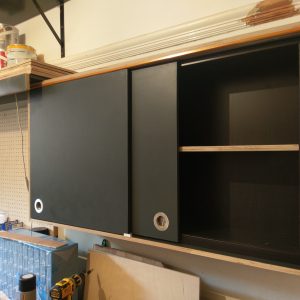
And for the cabinet, I wanted something fairly shallow mainly to store what seemed like thousands of spray tins to make it a bit more accessible and a little easier to find the colour I was after.
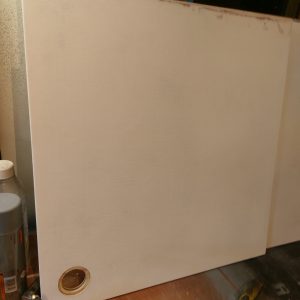
The plan was just to get a cabinet from IKEA and some sliding doors, but unfortunately, they seemed to have stopped doing the sliding rails and only had the hinged options. So rather than the quick and dirty option, I was hoping for, I had to use some offcuts from the plywood sheet I’d used for the pegboard to make a frame that would take a very basic sliding rail.
All in all, it kept the workshop tidy for a couple of weeks…
Work bench
Own design
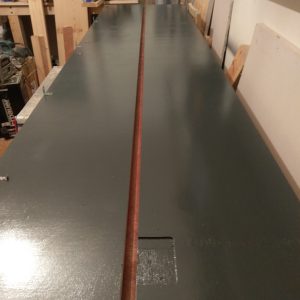
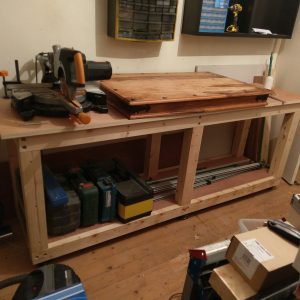
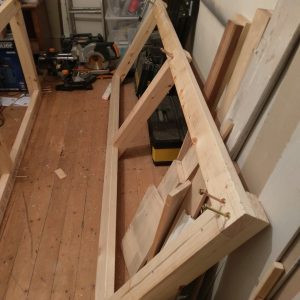
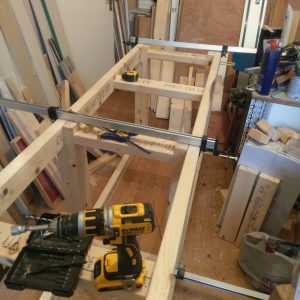
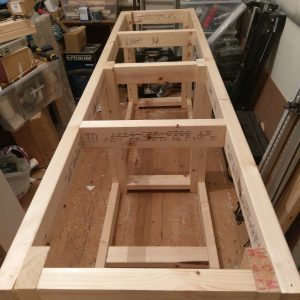
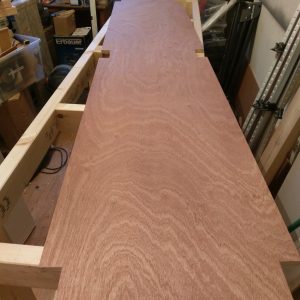
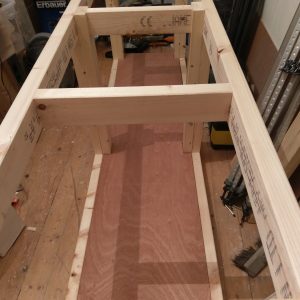
I wanted something sturdy to work on that was at a decent height. So I picked up some 2×4 timber and made a couple of benches to run along 2 walls of the workshop.
From the main one I made a cut out in the middle so I can put the mitre saw in there and it make the bed of the saw level with the bench so that when I’m cutting long lengths I don’t have to worry about propping the timber up. But because I wanted it to be optional (meaning that when I didn’t need it, I could make use of the whole bench) I took the cut out piece and popped on some brackets so that it can be placed in or removed as needed.
